The Balayage Consultation: What to Expect Before Your First Appointment at Meraki
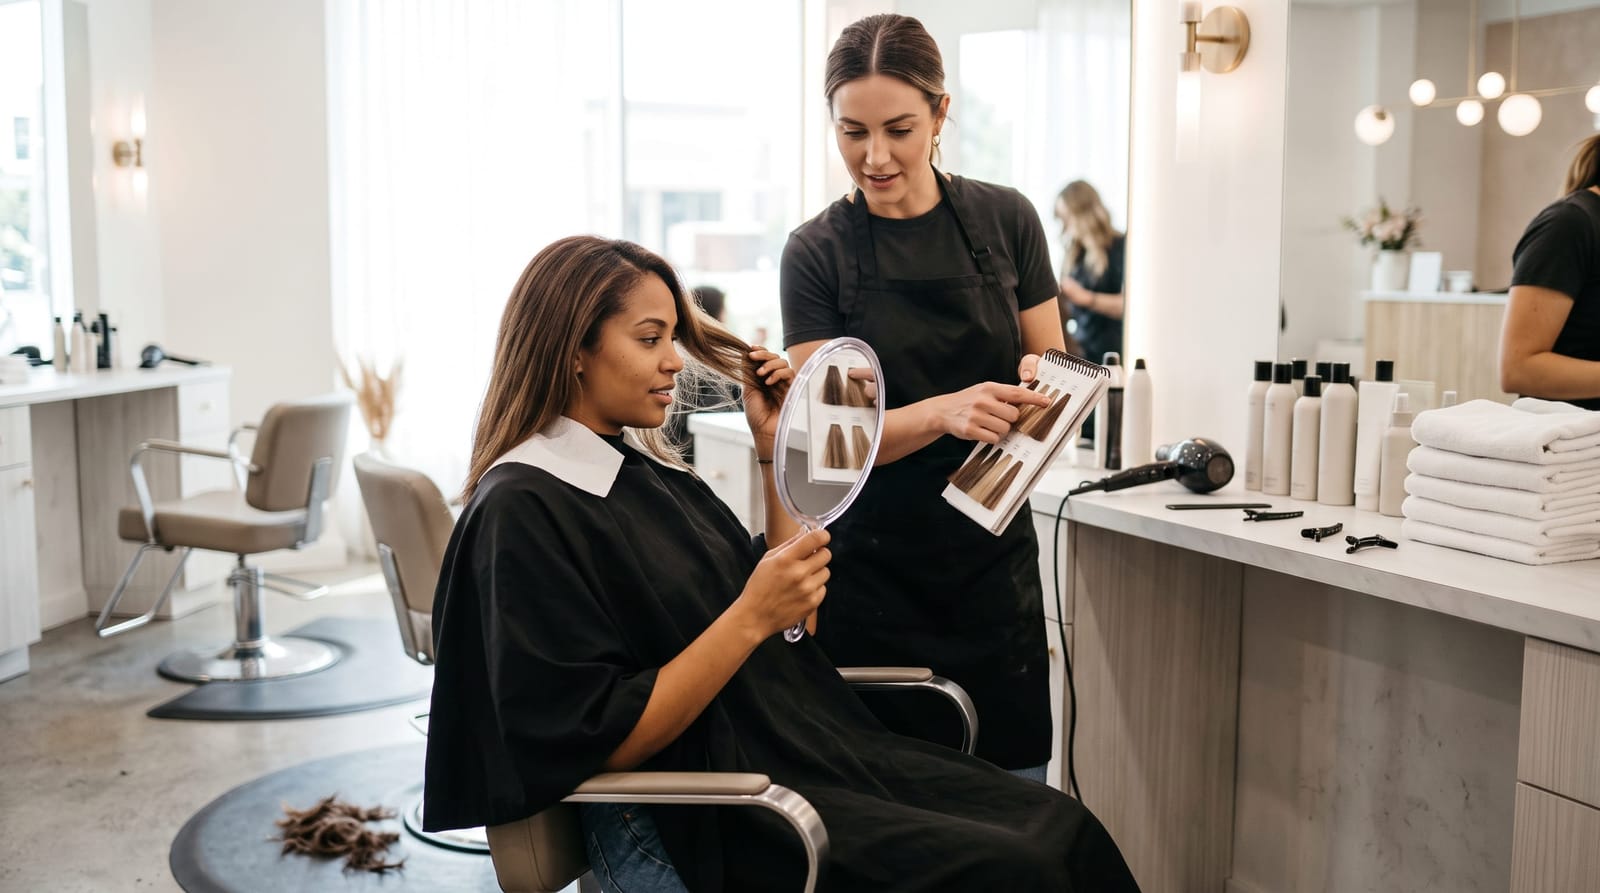
A balayage consultation is a conversation about the color you want, the hair you have now, and the upkeep that fits your routine. Before lightening begins, it helps turn an inspiration photo into a realistic plan, including placement, tone, appointment scope, and maintenance.
At Meraki Salon & Spa in Mountainside, New Jersey, we personalize our color services to your style, features, and lifestyle. That means your preferences matter just as much as the technique. A softly blended brunette and a brighter blonde can both involve balayage, but they call for different decisions.
You do not need to arrive knowing salon terminology or carrying a perfect reference photo. These steps explain what to prepare, what to discuss, and which questions help make your first balayage experience feel more comfortable.
Step 1: Describe the Change You Want in Everyday Language
Start with what you would like to look different, rather than deciding on a technical service name. “I want more brightness around my face” gives your stylist a clearer starting point than “I think I need balayage.”
Useful goals might include:
- Adding dimension without changing your overall brunette identity.
- Making the ends lighter while keeping depth near the roots.
- Softening the appearance of an obvious line from previous highlights.
- Creating noticeable contrast that still looks blended.
- Choosing color that looks intentional as it grows out.
It also helps to name what you do not want. Perhaps you dislike very light face-framing pieces, want to avoid copper tones, or prefer not to lighten your ends further.
If gray coverage is part of your goal, include that early. Adding lighter pieces and covering gray at the roots are different tasks, so they may require different parts of the color plan.
Step 2: Use Reference Photos to Explain Specific Details
Bring a small selection of images that show a consistent direction. Photos are most useful when you can point to a particular feature: the brightness, the blend near the roots, the warmth of the blonde, or the amount of darker hair left between highlights.
Look for a Starting Point Similar to Yours
A photo of a naturally dark brunette can be more useful for another brunette than an image of someone whose hair starts much lighter. Similar length and texture also make it easier to compare placement.
Styling matters, too. Waves separate lighter and darker sections visually, while straight hair reveals placement differently. If you usually wear your hair straight, include a straight-haired reference rather than relying only on curled finishes.
Separate the Color from the Photograph
Lighting and filters can change how warm, cool, or bright a shade appears. Treat the image as a way to communicate preferences, not as an exact color formula.
For example, you might love the soft root blend in one photo but prefer the richer caramel ends in another. Explaining those differences is more helpful than asking for both looks at once. Our preparation guide for the hair consultation process brings together inspiration photos and other useful details to have ready.
Step 3: Share the Color and Treatment History Still in Your Hair
Your current shade does not tell the whole story. Previous color can remain in the lengths even after the roots have grown out, and that history affects how lightening is planned.
Think through the services and products used on the hair that is still present, including:
- Professional color, highlights, or earlier balayage.
- At-home permanent color, especially darker shades.
- Color-depositing masks, vivid shades, or henna.
- Keratin smoothing, relaxing, or perming services.
- Areas that have been lightened repeatedly.
Approximate timing and product names are helpful. If you cannot remember a formula, a packaging photo or an older picture of your hair can still provide context.
There is no need to apologize for home color or a change of direction. The purpose is to understand what your hair has been through. Mention sections that feel rougher, tangle more readily, or have broken during styling so those areas can be part of the conversation.
Step 4: Connect Your Starting Hair to the Right Placement
The next part of the consultation connects your preferences with your current color, texture, density, length, and condition. These details influence both where lighter pieces belong and how much contrast will be visible.
Fine, closely spaced highlights create a different effect from wider ribbons of brightness. On curly hair, placement needs to make sense within the curl pattern. On layered hair, the position of lighter pieces can help emphasize the shape of the cut.
How you part and wear your hair matters as well. Someone who regularly wears a ponytail may care about brightness around the hairline that is less obvious when the hair is down.
Let the Desired Finish Guide the Technique
Balayage generally describes hand-painted lightener placement. Foil highlights use sections enclosed in foil for controlled placement and lightening. They are not mutually exclusive, and a blended look does not always come from hand painting alone.
We offer balayage, foil highlights, and lived-in color, along with glazing, toners, and glossing. During the discussion, the useful question is not simply “Which technique is best?” It is “Which approach supports this finish on my starting hair?”
A toner or gloss can refine the shade of lightened hair, but it is not a substitute for the lightening needed to create a substantially brighter result.
Step 5: Match the Color to Your Actual Routine
A color plan needs to work between salon visits, not only when freshly styled. Be honest about how you wear your hair, how much styling you enjoy, and how frequently you want maintenance appointments.
Useful details include whether you air-dry, use hot tools regularly, swim often, or usually keep your hair tied back. These habits help frame the conversation about placement and home care.
Maintenance also has more than one meaning. A soft transition near the roots can make regrowth less noticeable, while the tone through the lengths may still need refreshing. “Low maintenance” does not mean the color will stay unchanged.
Consider the tradeoffs:
- Subtle dimension: Less contrast can suit someone who wants a gentle change rather than an obvious blonde result.
- Brighter face-framing pieces: These create a more noticeable effect but can make changes near the hairline easier to see.
- A very cool finish: This may involve more attention to tone as warmth becomes visible over time.
The most useful maintenance discussion separates root grow-out, tone refreshes, and future lightening rather than treating them as one appointment.
Step 6: Set a Realistic First-Visit Goal, Time, and Cost
Your inspiration photo can describe the destination without defining what happens in the first visit. Starting shade, existing artificial color, and the condition of the lengths all influence the amount of change that is practical.
For example, if your hair has dark permanent color through the ends and your reference is a pale blonde, discuss an intermediate shade you would genuinely enjoy. A gradual approach is more useful when each stage feels intentional, rather than like a waiting period for the final look.
Separate your priorities into essentials and flexible preferences. Keeping depth at the roots might be essential, while the exact brightness of the ends may be open to adjustment.
Understand What the Appointment Includes
Before color begins, clarify the proposed services, expected appointment length, and estimated cost. A photograph cannot show whether the plan involves lightening alone, additional root work, a toner or gloss, or changes to the haircut.
Helpful questions include:
- What change are we aiming for in this visit?
- Which services are included in the estimate?
- How much time does the proposed appointment require?
- What might lead us to adjust the plan?
- Which maintenance services would support this look afterward?
Sharing a comfortable spending range helps keep the discussion focused on an appropriate scope without relying on assumptions.
Step 7: Put the Plan into Clear, Shared Words
Before moving forward, summarize the plan in plain language. This is a useful moment to catch differences between what you pictured and what your stylist understood.
A clear summary might sound like: “I want to remain brunette, keep depth near my roots, and add soft caramel brightness through the middle and ends. I prefer a gentle face frame rather than a bold light section.”
The plan can also identify the home-care priorities for your finish, such as suitable cleansing and conditioning, heat protection, and whether a color-depositing product has a useful role. Choosing extra toning products without that discussion can work against a deliberately warm shade.
Finally, distinguish an optional refresh from the maintenance that matters most to your goal. That gives you a clearer understanding of how the color may evolve and what a future visit would address.
A Good Consultation Turns Inspiration into a Wearable Plan
The most useful outcome is not a list of technical terms. It is a shared understanding of the color you want, what your starting hair allows, and how the look fits your everyday life. Reference photos, an honest hair history, and clear priorities give that conversation substance, leaving less room for mismatched expectations before your first balayage service.